How to Crochet a Spiral Granny Square: Free Pattern
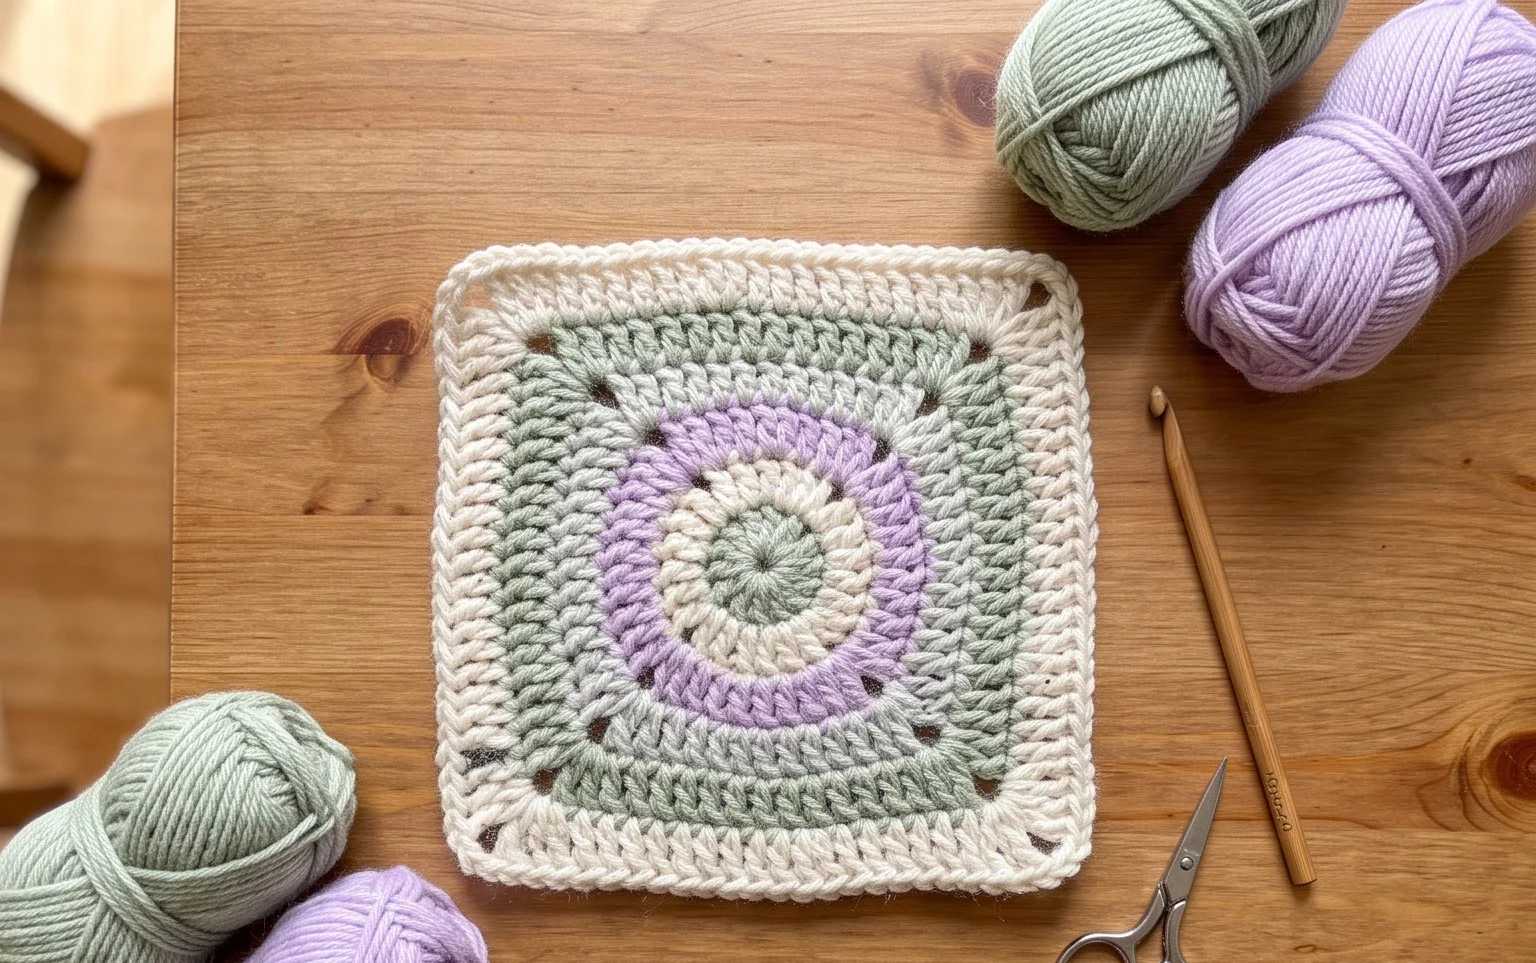
These squares have a distinct swirling center that pulls the eye inward, creating a dynamic visual effect unlike the standard blocky version. The finished fabric feels dense and cozy, making it a great choice for a sturdy scrap-busting throw or a set of decorative coasters for your coffee table. Beginners often find this method more intuitive than traditional rounds because you avoid the constant joining of chains at every turn. You will learn how to transition between colors smoothly and keep your tension consistent while moving in a continuous loop to build these soft, textured, and truly impressive geometric squares.
Why You’ll Love This Pattern
The Classic Crochet Granny Square is the fundamental building block for countless fiber arts projects, ranging from simple dishcloths to heirloom-quality blankets. Its modular design allows you to work in short, manageable increments, making it an ideal portable project for commutes or relaxing evenings. Because each square is independent, you can easily control your color palette to manage yarn scraps effectively, transforming small leftover balls into a cohesive piece. The repetitive, rhythmic nature of the stitch pattern provides a meditative experience that helps improve your tension consistency without requiring complex stitch counts or counting-heavy rounds.
I struggled with tension for months until I started practicing these squares. They taught me exactly how to keep my corners sharp and my yarn tension even, and now I have a whole box of them ready to join for a throw blanket.
— Sarah, hobbyist crocheter
Pattern Overview & Skill Level
- Skill Level: Beginner
- Approximate Time: 30 to 45 minutes per square
- Construction: Worked in joined rounds, starting from the center and expanding outward.
- Finished Dimensions: Approximately 6 inches by 6 inches using recommended yarn and hook.
Materials & Supplies Needed
- Yarn: Worsted weight (#4), medium-weight acrylic or wool blend, approximately 25 yards per square.
- Hook Size: 5.0 mm (US H-8).
- Notions: Tapestry needle for weaving in ends, scissors, and optional locking stitch markers to keep track of the first chain space.
- Safe Yarn Substitutions: Cotton yarn can be used for a stiffer, more defined finish, though it may be slightly heavier and require more yardage compared to acrylic. Wool provides warmth and a softer drape but should be hand-washed.
Stitch Guide & Abbreviations (US Terms)
- ch = chain
- st/sts = stitch/stitches
- sl st = slip stitch
- dc = double crochet
- sp = space
- RS = Right Side
- MR = magic ring (or ch 4 and sl st to first ch to form a ring)
Step-by-Step Pattern Instructions
Work these rounds using a standard double crochet stitch. Maintain a consistent tension to ensure the square lies flat during the blocking process.
Granny Square Body
- Rnd 1: Start with a MR. Ch 3 (counts as first dc), work 2 dc into the ring, ch 2. (3 dc, ch 2) 3 times into the ring. Join with a sl st to the top of the initial ch 3. (12 sts, 4 ch-2 corner spaces)
- Rnd 2: Sl st into the next dc and into the first ch-2 space. Ch 3, 2 dc, ch 2, 3 dc in the same corner space. *Ch 1, (3 dc, ch 2, 3 dc) in the next corner space. Repeat from * 2 more times. Ch 1, join with a sl st to the top of the initial ch 3. (24 sts, 4 ch-2 corner spaces, 4 ch-1 side spaces)
- Rnd 3: Sl st into the next 2 dc and into the corner space. Ch 3, 2 dc, ch 2, 3 dc in the same corner. *Ch 1, 3 dc in the next ch-1 side space, ch 1, (3 dc, ch 2, 3 dc) in the next corner. Repeat from * 2 more times. Ch 1, 3 dc in the final side space, ch 1, join with a sl st to the top of the initial ch 3. (36 sts, 4 ch-2 corner spaces, 8 ch-1 side spaces)
- Rnd 4: Continue the pattern by working 3 dc, ch 2, 3 dc into each corner and 3 dc into each ch-1 side space, separated by ch-1. Join with a sl st to complete the square. (48 sts, 4 ch-2 corners, 12 ch-1 side spaces)
Finishing
Fasten off the yarn, leaving a 6-inch tail. Pull the tail through the final loop to secure it. Thread the tail onto a tapestry needle and weave it back and forth through the back of the double crochet stitches to hide it securely. Ensure no tension is pulled on the edge of the square while weaving.
Care & Washing Instructions
- Hand wash your finished projects in cool water using a gentle detergent formulated for knit and crochet items.
- Lay the item flat on a clean towel and reshape it to its original dimensions, avoiding direct sunlight or heat sources.
- Block the square by pinning it to a foam mat while damp to ensure perfectly straight edges and square corners.
Pro Tips & Common Mistakes to Avoid
- Always place a stitch marker in the first chain of the round. This helps you identify the exact spot to join your slip stitch at the end of the round, preventing accidental stitch count errors.
- If your square is curling, your tension might be too tight. Try going up half a hook size to allow the stitches more room to breathe.
- When weaving in ends, follow the path of the yarn in the stitch to ensure the tail remains invisible. Do not pull too tight, as this can distort the square’s shape.
- To adjust the size, simply add more rounds using the same logic: corners get the (3 dc, ch 2, 3 dc) cluster, and side spaces get 3 dc clusters. Adding rounds will consume more yarn, so ensure you have sufficient supply for larger projects.
Frequently Asked Questions
Can I use a different weight of yarn for this pattern?
Yes, you can use any yarn weight, but you must adjust your hook size to match the recommended size on the yarn label. Note that changing the weight will significantly alter the final dimensions of the square.
How do I join these squares together?
There are several methods, such as the whip stitch, mattress stitch, or a decorative join-as-you-go technique using single crochet. Choose the method that best matches the aesthetic of your final project.
Is this project suitable for absolute beginners?
This pattern is excellent for beginners because it focuses on the double crochet stitch, which is a staple in most crochet projects. It provides immediate practice with basic increases and working in the round.
Can I sell the finished squares I make?
Check the terms provided by the pattern designer for specific commercial usage rights. Many designers allow the sale of finished items but require credit to be given to the original designer in the product description.
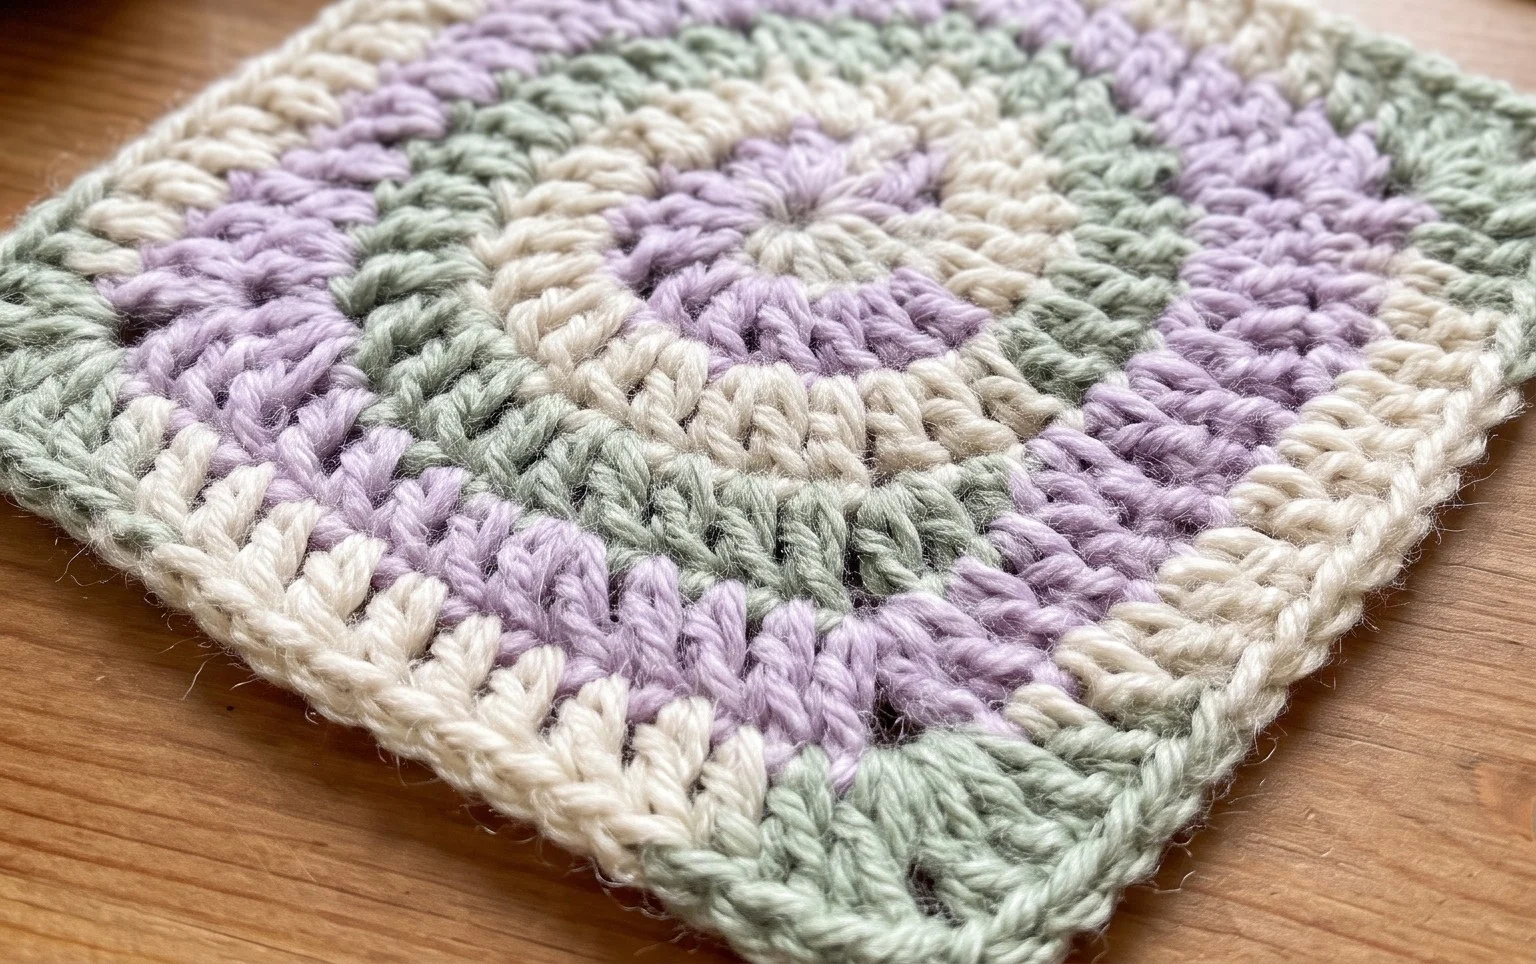
Your finished project has a professional look that works beautifully when joined into a full blanket or used as a single bold accent piece. You might try working with a heavier cotton yarn to create a more structured, stiff square that holds its shape as a hot pad or kitchen mat. Once you finish your first square, please share a photo of your color combinations with our community on social media. We love seeing how different palettes change the look of this design. Check out our archive for more free patterns to build your next blanket.