Easy Nordic Hook Club Ribbed Beanie: Free Crochet Pattern
This ribbed beanie feels like a warm hug on a cold morning because the dense stitch pattern traps heat effectively. It works well for beginners who want a professional result without complicated shaping or color changes. You will use the back loop only technique to achieve the stretchy, vertical ribbing that characterizes this cozy winter staple. It is a rewarding project for those needing a thoughtful handmade gift or a personal accessory that fits reliably. You will master the rhythm of consistent tension while working flat rows, ensuring each edge remains straight before seaming the piece into a comfortable, snug tube.
Why You’ll Love This Pattern
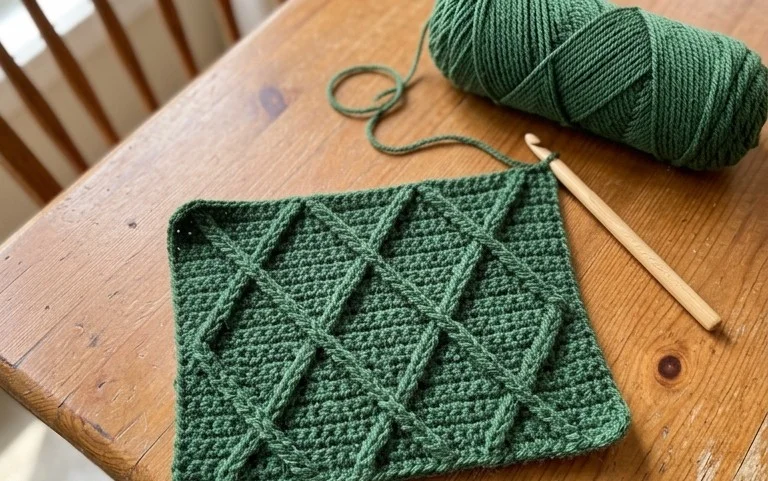
This crochet ribbed beanie relies on a simple combination of single crochet stitches worked in the back loops, creating a stretchy, fabric-like texture that fits comfortably on most adult heads. Because the design is worked as a flat rectangle and then seamed, you can complete the entire project in a single weekend. The ribbed construction offers a classic look that is timeless, making it an excellent choice for handmade gifts that are both functional and stylish. You only need to know how to chain and work single crochet stitches, which makes this an accessible project for those who are just moving beyond basic scarves.
I finished this hat in two evenings and it is the first project I have made that actually fits me perfectly without being too loose or tight. The ribbing looks very professional and keeps its shape well after wearing it several times.
— Sarah, hobbyist crocheter
Pattern Overview & Skill Level
- Skill Level: Beginner
- Approximate Time: 4 to 6 hours
- Construction: Worked flat in rows as a rectangle, then seamed to form a tube and cinched at the top.
- Finished Dimensions & Sizing: 8.5 inches tall by 18 inches circumference (unstretched), fits most average adult heads.
Materials & Supplies Needed
- Yarn: Worsted weight #4, 100% acrylic or wool blend, approximately 200 yards.
- Hook Size: 5.0 mm / H-8 crochet hook.
- Notions: Tapestry needle for seaming and weaving ends, locking stitch markers, and a measuring tape.
- Yarn Substitutions: You may use cotton yarn, though it will be less elastic than wool or acrylic. If using a thinner sport-weight yarn, increase your starting chain length to match the desired height and ensure you adjust your yardage accordingly.
Stitch Guide & Abbreviations (US Terms)
- ch = chain
- sc = single crochet
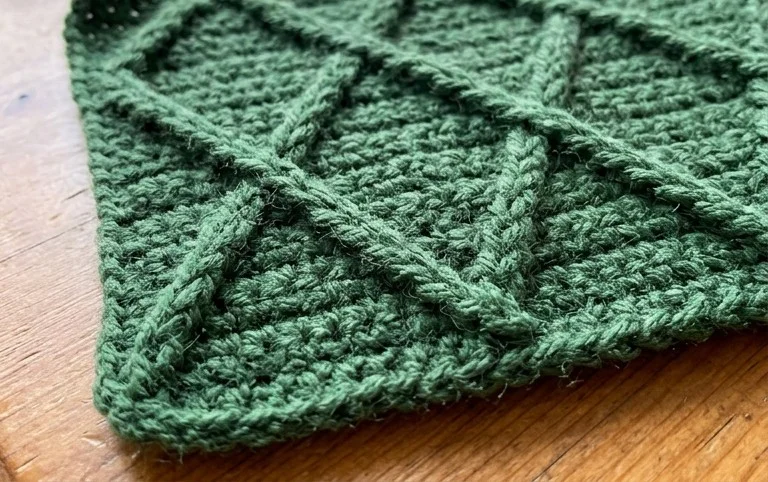
- BLO = back loop only (insert hook under the back loop of the stitch only)
- st/sts = stitch/stitches
- sl st = slip stitch
- FO = fasten off
Step-by-Step Pattern Instructions
Main Hat Body
- Row 1: Ch 41. Sc in the second ch from the hook and each ch across. Ch 1, turn. (40 sts)
- Row 2: Sc in BLO of each st across until the end of the row. Ch 1, turn. (40 sts)
- Rows 3–60: Repeat Row 2 until the piece measures approximately 18 inches long when laid flat. Do not fasten off.
Seaming and Finishing
- Fold the rectangle in half so the short ends meet.
- Sl st through both the starting chain edge and the current row edge to join the sides together, forming a tube.
- FO, leaving a 12-inch tail of yarn.
- Using your tapestry needle and the long tail, weave the yarn in and out of every other row along the top edge of the tube.
- Pull the yarn tail tight to cinch the top of the hat closed, then secure with a knot and weave in the end on the inside.
- Turn the hat right side out and fold the bottom edge upward to create the brim.
Care & Washing Instructions
- Hand wash your finished hat in cool water with a mild wool-safe detergent to maintain the integrity of the fibers.
- Do not wring or twist the fabric; instead, lay it flat on a clean towel and roll it to absorb excess moisture.
- Allow the hat to air dry completely on a flat surface, reshaping it gently if the ribbing looks stretched after washing.
Pro Tips & Common Mistakes to Avoid
Maintain consistent tension throughout your rows to ensure the ribbing looks uniform across the entire surface. If your tension is too loose, the ribbing will appear gapped and lose its elasticity over time. Always use a stitch marker on the first stitch of every row to make sure you do not accidentally drop stitches at the edges, which would cause the rectangle to become lopsided. When weaving in your ends, run the needle through the center of the ribbed stitches rather than across the surface to keep the repair invisible. You can easily adjust the size of the hat by chaining more stitches at the start for a taller hat or working fewer rows for a smaller circumference, but keep in mind that larger sizes will require extra yarn.
Frequently Asked Questions
Can I use a larger hook for this pattern?
Yes, using a larger hook will create a softer, more draped fabric, but it will also make the hat larger and potentially more holey. If you change your hook size, check your gauge to ensure the hat will still fit your head correctly.
Is this pattern suitable for beginners?
This pattern is ideal for beginners because it uses only one basic stitch, the single crochet, and requires no complex increases or decreases throughout the entire project.
Can I sell the hats I make from this pattern?
You are welcome to sell finished items made from this pattern, but please credit the original design and do not use these specific instructions as your own printed material.
What happens if I run out of yarn while working?
If you run out of yarn, you can join a new skein by overlapping the tails and working them into your stitches, or by using a Russian join to create a seamless transition that will not show in the final ribbing.
Your finished hat serves as a reliable guard against the wind and brings a handmade touch to any winter outfit. You might consider using a variegated wool yarn if you prefer a subtle color shift, or add a faux fur pom-pom to the top for extra character. I would love to see how your project turned out, so please share a photo on social media or your favorite crafting board. Feel free to explore more free patterns on the blog for your next creative session.